

Views: 0 Author: Site Editor Publish Time: 2026-11-04 Origin: Site


Effective skincare gift set packaging gives every bottle, tube, and jar a defined position. The layout should present the products clearly, limit movement, protect vulnerable components, and make each item easy to remove.
Start with the final containers rather than an empty box size. Their dimensions, weights, closures, and intended presentation should guide the insert and outer box design.
This guide explains how beauty brands can organize mixed-container skincare sets and prepare a practical packaging specification.
Table of Contents
Create a product list before developing the layout. Use the containers in their final supplied condition, including caps, pumps, droppers, labels, and any individual cartons.
Container type | Information to record | Features needing attention |
|---|---|---|
Bottle | Overall height, body dimensions, filled weight, and closure dimensions | Pump heads, droppers, shoulders, and projecting parts |
Tube | Filled dimensions, cap size, sealed-end width, and weight | Flexible body, cap hinge, and sealed end |
Jar | Overall height, body and lid diameters, and filled weight | Wide lids, heavy bases, and removal access |
Measure more than one sample where possible. A layout based on a single container may overlook normal variation.
Filled tubes deserve particular attention because their shape can differ from an empty tube. Printed nominal capacity alone does not provide enough information to design a fitted cavity.
If a container changes during development, review the insert and lid clearance again.
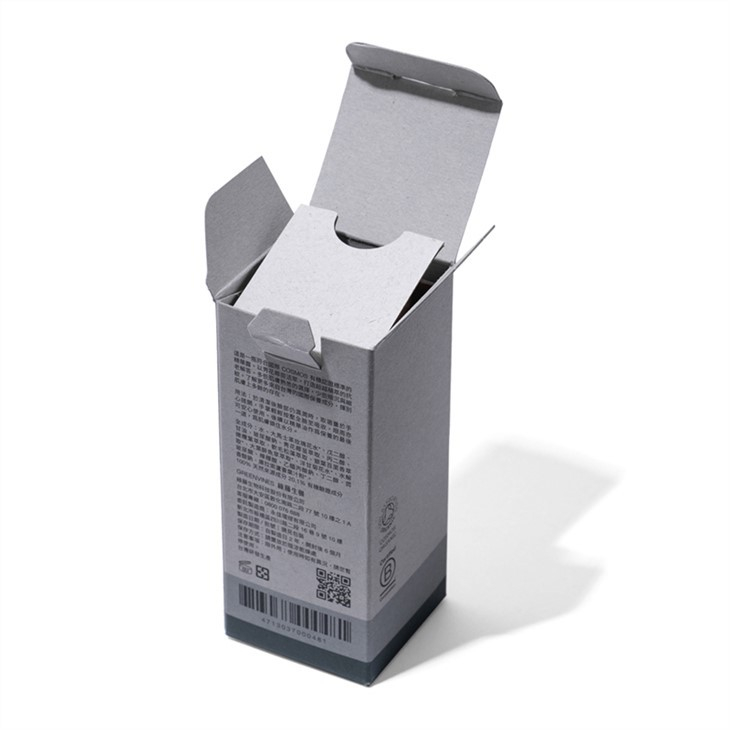
A useful layout balances product visibility, space, and the way the set will be handled.
Three arrangements are worth comparing:
Layout | When to consider it | What to check |
|---|---|---|
Side-by-side row | A small set with a clear product sequence | Overall box width and separation between items |
Grouped or grid layout | Sets combining tall containers and shorter jars | Product spacing, visual balance, and removal access |
Multi-level layout | Sets needing a specific presentation or separation | Added structure, assembly work, and visibility of lower items |
Do not choose a larger box simply to create empty space. Excess space can increase material use and shipping volume without improving the presentation.
For a routine-based set, arrange products in their intended order of use. A cleanser, serum, and moisturizer can follow a clear sequence, supported by a printed card or numbered labels.
For a collection built around one main product, give that item a prominent position while keeping the remaining products visible.
Yison’s custom skincare and cosmetic set packaging boxes provide examples of multi-product packaging with insert and compartment options.
An upright arrangement may suit a compact footprint, while a flat arrangement can display front labels when the box opens.
Neither orientation is automatically safer for transport. Confirm the permitted orientation of the filled containers with the product team, and validate the complete package for its distribution route.
A shared gift box does not mean every product should use the same cavity design.
Design the insert to restrain the bottle through suitable body or base support. Avoid making a delicate pump head, dropper, or decorative cap the main load-bearing point.
Check that:
The bottle cannot easily rotate out of its intended display position.
Adjacent products cannot strike the glass or closure.
The lid does not press on the pump or dropper.
Any required pump lock or protective cap remains functional.
The bottle can be removed without pulling on a vulnerable component.
A tube can deform when held too tightly. Its insert should locate the product without creating unwanted dents or squeezing the contents toward the closure.
Check the filled tube profile, cap clearance, sealed end, and front-label orientation.
Do not rely on a narrow opening around the flexible body without testing how the tube is loaded and removed.
A jar may be shorter than the other products but still contribute a substantial part of the set’s weight.
Provide suitable base support and separation from neighboring items. Check whether the cavity engages the body, lid, or both, and whether removal causes the lid to loosen.
A finger notch or another planned access point can make a fitted jar easier to lift. Confirm that this opening does not weaken the insert excessively.
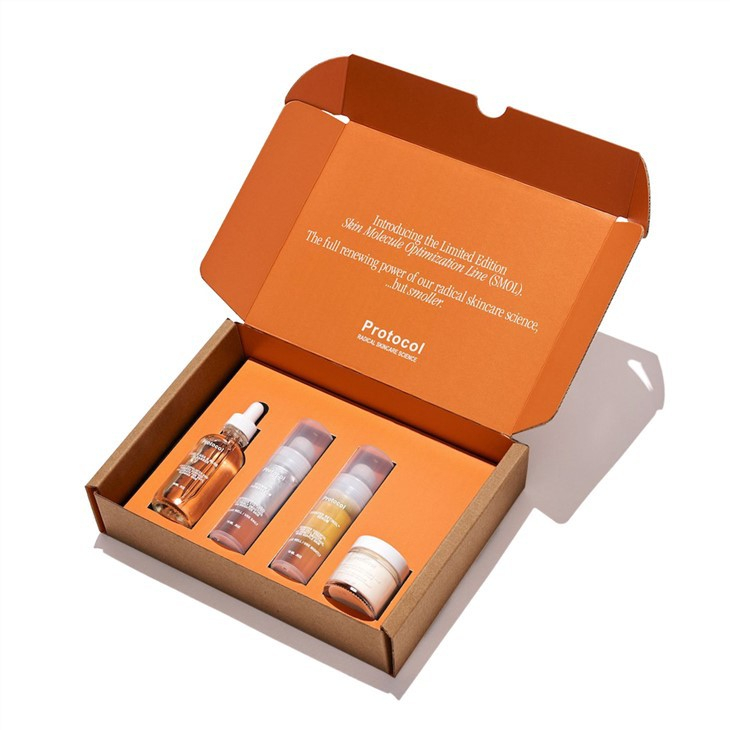
The insert should work with the product shapes, box structure, and assembly method.
Insert option | Potential use | Points to evaluate |
|---|---|---|
Folded paperboard | Compartments and shaped supports | Fold strength, locking features, and assembly steps |
Corrugated board | Dividers and structural support | Board construction, cut edges, and product contact |
Molded pulp | Formed cavities for specific products | Fit, surface contact, tooling, and removal |
Foam | Shaped cavities for mixed product profiles | Material selection, compression, appearance, and separation at disposal |
Material alone does not establish protective performance. The cavity geometry, support depth, spacing, and complete shipping package also matter.
For a paper-based option, review Yison’s corrugated skincare set gift box with paper inserts. Confirm the proposed construction against your actual products.
A product may fit closely from side to side while still lifting out of its cavity when the package is tilted.
Review sideways movement, vertical movement, and rotation. Agree on acceptable movement during sample evaluation rather than assuming a visually tight fit is sufficient.
Avoid specifying a universal clearance. The required fit depends on container variation, insert material, loading method, and protection requirements.
The insert and box must be developed together.
Confirm the internal box dimensions and the usable space remaining after the insert, support layers, and printed materials are added.
Check:
Clearance above the tallest product.
Space around pumps, caps, and jar lids.
Support beneath heavier containers.
Separation between products.
Closure operation with the complete set loaded.
The position of cards, leaflets, or accessories.
The lid should close without forcing products downward or bowing the box.
Different product heights do not always require a taller box. A stepped insert may improve presentation, but it should be evaluated for support, complexity, and cost.
A gift box can organize products well and still require an outer shipping carton.
Retail display, bulk delivery to stores, and individual parcel shipping expose packaging to different handling conditions. Tell the supplier which route the set will follow.
For online orders, evaluate the complete pack, including the gift box, inserts, outer carton, and any additional cushioning.
Also keep the roles of the components clear:
The container and closure contain the formula.
The insert locates and supports the container.
The gift box presents and encloses the set.
The shipping package provides protection for the intended distribution route.
An insert cannot correct an unsuitable or leaking closure.
Use final or representative filled products when checking the sample. Empty containers can conceal weight and shape issues.
Ask the team responsible for fulfillment to assemble and load the set.
Record whether:
Products are easy to identify and place correctly.
The insert stays in position during loading.
Bottles, tubes, and jars can be inserted without excessive force.
Labels or decorative surfaces become marked.
The lid closes consistently.
Customers can remove each product comfortably.
If packaging is supplied flat, include the time and steps needed to assemble it.
Agree on a test plan appropriate to the products and distribution route with your packaging team, supplier, or test provider.
Inspect for breakage, leakage, product movement, insert damage, surface rubbing, and changes in presentation after testing.
Approve the final sample, artwork, materials, and packing instructions together. A later change to a container or insert should trigger a review of the affected checks.
Send the supplier:
A list of products included in each set.
Final container samples, drawings, or detailed measurements.
Filled weights and closure details.
Preferred product orientation and layout.
Box style and opening direction.
Insert material preferences.
Artwork and finishing requirements.
Quantity for each set version.
Packing location and assembly requirements.
Distribution route, destination, and required arrival date.
If several sets will share one outer box, identify every combination. A common box may be practical with different inserts, but the fit and cost should be checked for each version.
Yes, one insert can contain different cavity shapes. Each product still needs suitable support, separation, and removal access. Validate the mixed layout using the complete set.
Choose the orientation around the container’s permitted handling conditions, display goals, and box structure. Confirm closure suitability and test the complete package rather than relying on orientation alone.
It may be possible with adjustable features or a carefully designed shared cavity. However, smaller products may move more, while larger products may be difficult to load. Check every intended size.
They can be considered, but performance depends on the construction, bottle weight, support, spacing, and shipping package. Validate the proposed design with the actual glass containers.
Finalize them after the container dimensions and proposed layout are stable, then confirm them through a loaded sample. Changes to pumps, caps, jars, or tube shapes may require adjustments.
Developing a gift set with mixed bottles, tubes, and jars?
Contact Guangzhou Yison Printing Co., Ltd. with your product dimensions, filled weights, set quantity, and preferred presentation. Ask about box structures and insert options, and confirm the sample process before approving bulk production.


